Licensing:
This feature requires 1 license per defined Paging Group.
Overview:
Extensions can be grouped into paging groups (or “zones”) to receive announcements via paging. When a page is sent to a paging group, all members of the group receive it. Extensions that not assigned as a member to any paging group will not receive pages.
Paging groups 01-99 can be paged individually. Sending a page to paging zone 00 sends the page to all of the other zones sequentially (01-99).
A paging group includes:
- Members, who hear pages sent to the group.
- Maximum of 128 members per group.
- Senders, who can send pages to the group.
Viewing / configuring paging groups
- Expand Call Manager > Group Settings and click Paging Group.
- Select All Sites, or select a specific site to see only those paging groups.

Add paging group
- Click Add.

- Select the Site.
- Select an unused Index number (01-99) for the group.
- Enter a Name for the new paging group.
- To add members to the group,select the Members tab and then click Change.
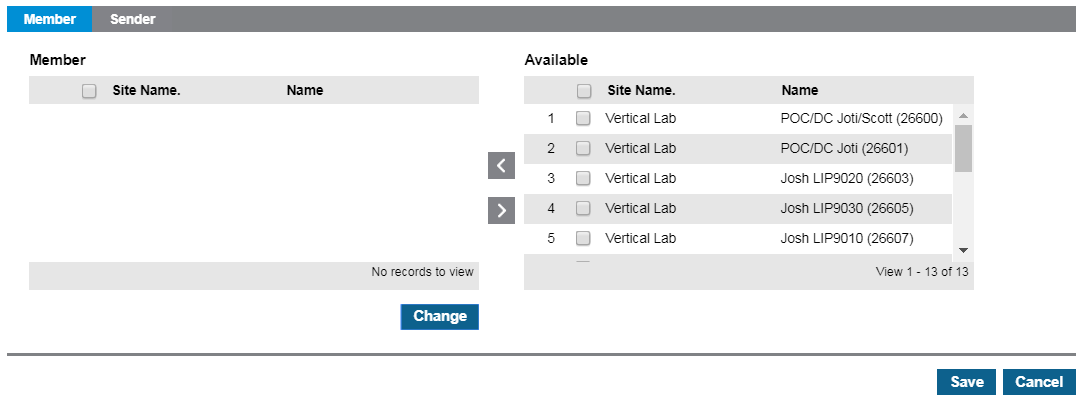
- Select members from the Available list, then click the < arrow to move them to the Member list.
- To add senders to the group, select the Sender tab and then click Change.
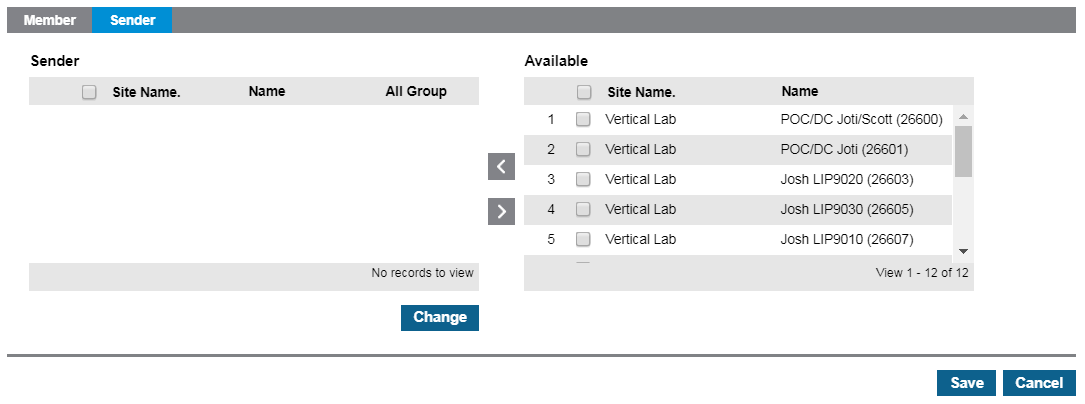
- Select senders from the Available list, then click the < arrow to move them to the Sender list.
 NOTE: An individual user cannot be manually assigned as a Sender to more than one Paging Group. You can however enable the 'All Group' checkbox as shown in the screenshot above. This will automatically add that user as a Sender to ALL defined Paging Groups. At this time there is not a method to add a user as a Sender to more than one; but less than all defined Paging Groups.
- Click Save when all changes are complete.
