Description:
This article details the steps needed to Register an app, create a secret, & assign permissions in Microsoft's Azure Active Directory to enable login to the iPECS Cloud Customer Manager or Customer User portals using a Microsoft login.
Programming:
After logging into your MS AAD account as an administrator, follow the steps below and return the following 3 values to your iPECS Cloud Customer Manager.
- Application (client) ID
- Directory (tenant) ID
- Value of the Client Secret
- IMPORTANT: This value is only viewable / copyable immediately upon creation.
App Registration:
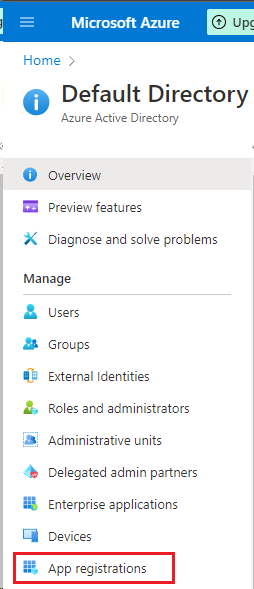
- The link to create an App registration is found alongside the left-hand navigation pane as shown below.
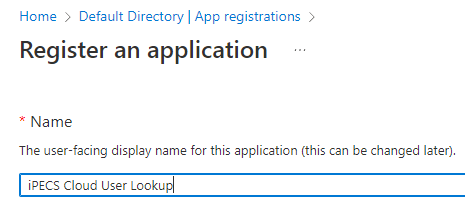
- Upon clicking the link, fill out the following fields. First name the app, 'iPECS Cloud User Lookup' is a suggestion.
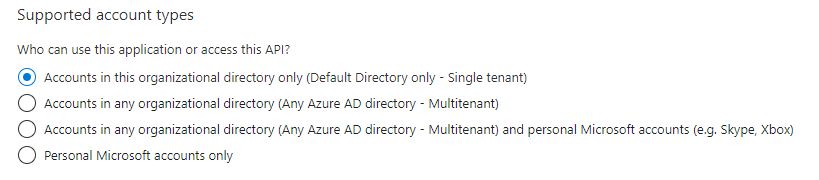
- Next is the Supported account types.
NOTE: This article will focus on 'Default Directory only - Single tenant'. If this does not fit your needs, please contact iPECS Support for further assistance.
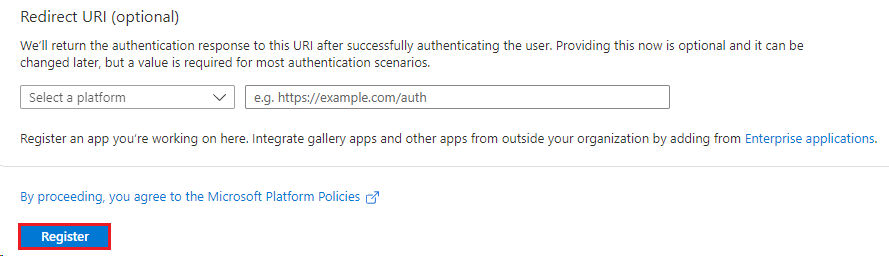
- Further down, an option for Redirect URI is listed, leave this blank, and then click the 'Register' button below it.
- Clicking on the newly created app will show the details listed below. Two of the three items that need to be passed to the iPECS Cloud Customer Manager are listed here as shown on the left. On the right, the link highlighted will bring up the screen needed to generate the final required item.

Adding a Client Secret to the App.
- After clicking the 'Add a certificate or secret' link in the previous section, click the link on this screen '+ New client secret'.
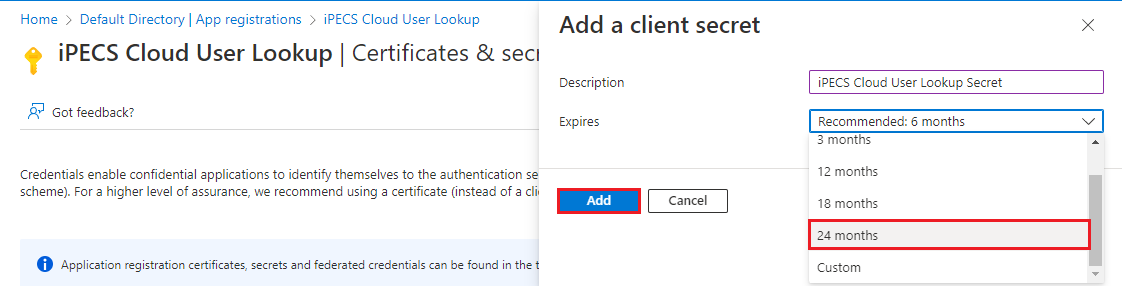
- An overlay on the right hand side of the browser will slide out. Here, provide a description of the secret, 'iPECS Cloud User Lookup Secret' is suggested. Then choose the Expiry date. Microsoft Recommends 6 months. Our recommendation is 24 months; ultimately, this should match the clients security requirements.
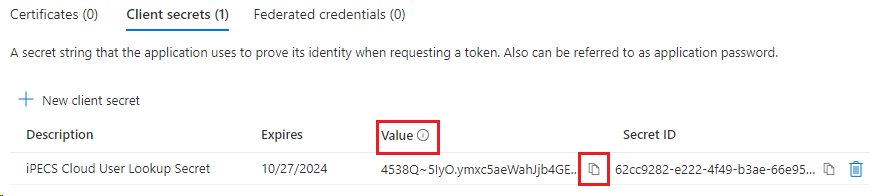
- Now that the secret is created, use the link to the right of the 'Value', NOT the Secret ID, and copy it. This is the ONLY time this value will be shown, so, if needed, record it in a secure way.
IMPORTANT: If this screen is exited prior to the value being copied, the secret must be deleted and another created as this value will never again present itself.
Configuring API Permissions to the App.
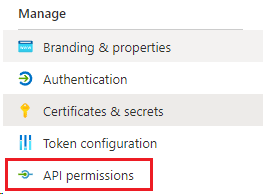
- After creating the secret and recording the resulting value, the last step needed is to assign API Permissions to the App. In the left navigation bar, just below 'Certificates & secrets', click 'API Permissions'.
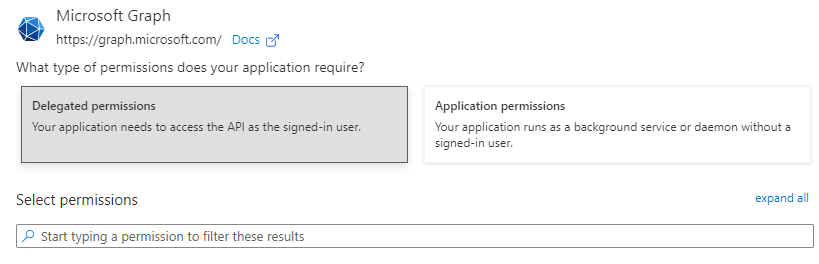
- Ultimately, the list of permissions will match those in step 4; until they do, click '+ Add a permission' and another pane will slide out from the right. The option needed is the one at the very top of the list, "Microsoft Graph".

- Upon selecting this object, the following selection appears. Again, reference the rights shown in step 4 to determine which rights still need to be added. The search bar just underneath it will assist in selecting the proper permissions.
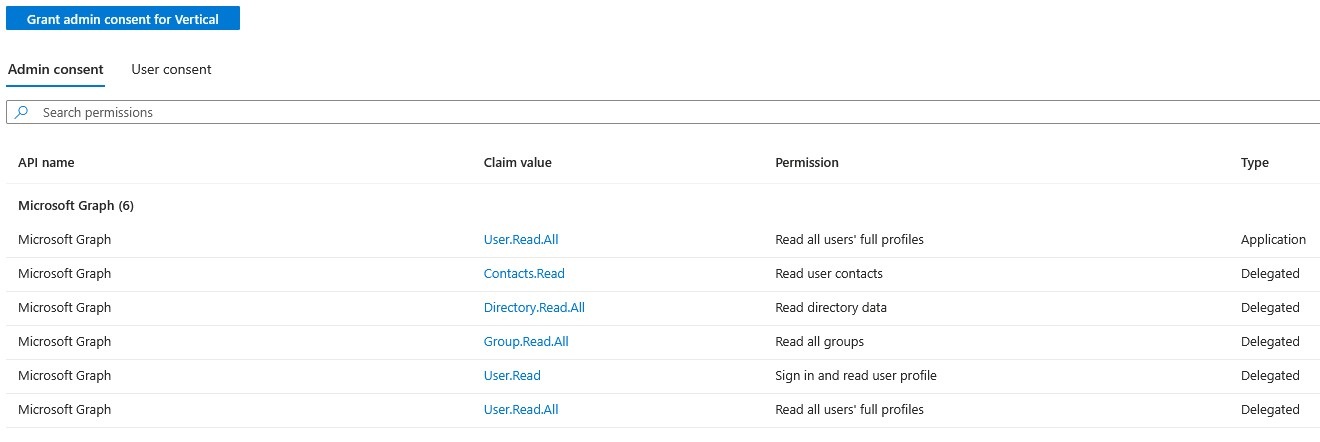
- Once the list of permissions matches what is shown below, click on the 'Grant admin consent for Default Directory' to ensure that the rights below that require Admin consent are granted this.
Now that the steps in Azure are complete, next is to configure the settings in the iPECS Customer Manager portal.
Please refer to: Microsoft Azure Active Directory Integration: Customer Manager portal config
