The iPECS UCE Desktop Client is included for all Premium users, and is available for Windows PCs. Your iPECS administrator will provide you with the credentials you need to log in.
- Make sure you have local administrator rights for your Windows PC.
NOTE: Your user account does not have to have local administrator rights. You do need the credentials for an account that has local rights. - Download the iPECS UCE Desktop Client (available here, iPECS_UCE_for_Windows.zip).
- Open the downloaded ZIP file.
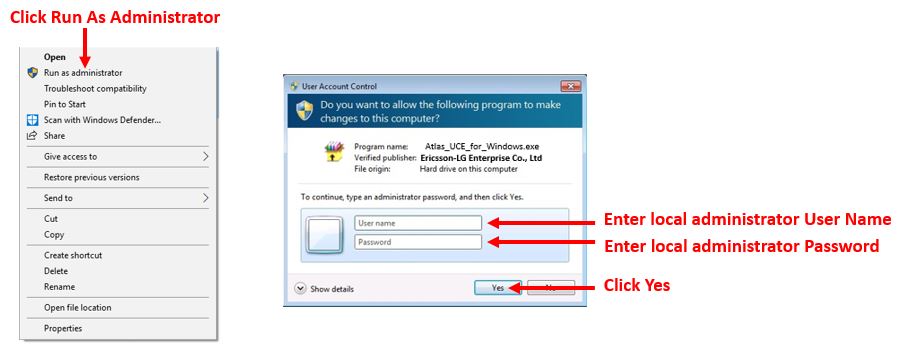
- Right-click on the install program file (IPECS_UCE_for_Windows.exe) and choose Open.
- If the account you are logged in as does not have local administrator rights, you will need to supply the user name and password for an account that does at this time and then click Yes to continue. (If you are logged in as a local administrator, you do not need to provided credentials and you will not see these screens. )
- Click Install to proceed. Optionally, you can change the location where the install files will be extracted.

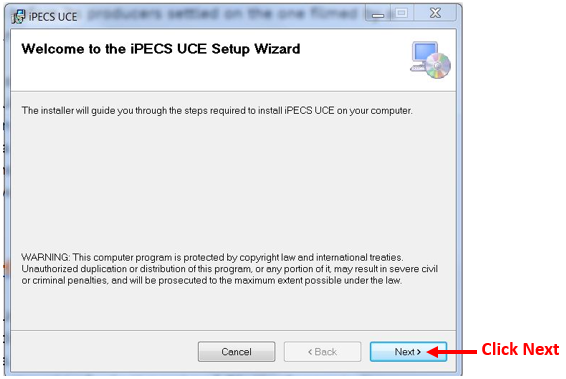
- The installation wizard will start. Click Next to begin the install.
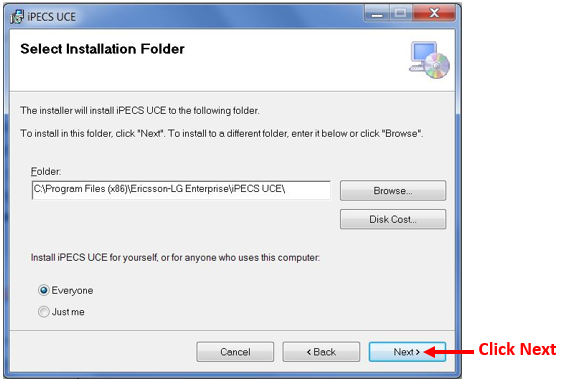
- The wizard lets you change the location for the actual installation. You can also choose to install it just for your account or for Everyone on the computer. Click Next once you have made your choices.
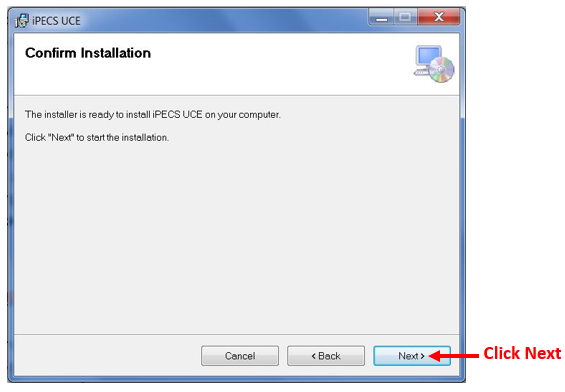
- Click Next again to proceed with the installation process.
- The install process will proceed. Wait through this short process.

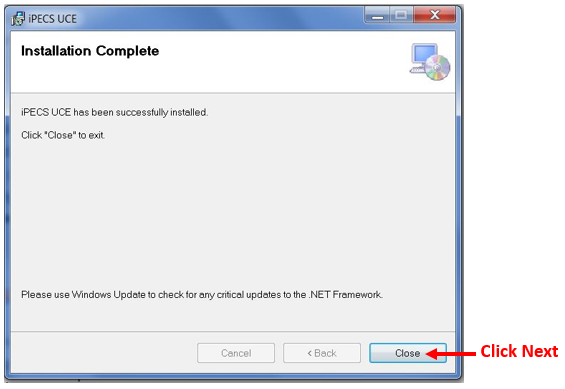
- When the process completes, click Close to end the install. (If an error box appears, consult your iPECS Administrator).
- The iPECS UCE icon should appear on the desktop. Double-click the icon to launch it.

- Log in for the first time.


