Set Up Phones That Mimic a Squared System or Appearing Lines Using the Shared Lines Feature
See the below for the steps to get it set up.
No-charge group features must be requested to set up Shared Lines (for the number of Shared Lines desired). To allow calls to forward to a mailbox, one Voice Mail license (recurring monthly cost) is also required. The Shared Line extension range, by default, begins at 601.
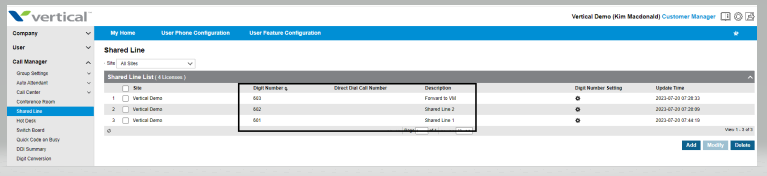
To get to the Shared Line programming section, log into your reseller portal, click "Call Manager", then "Shared Line".
In this example, we have created two Shared Lines and a General Mailbox.
Click "Add" at the bottom of the screen to create the number of Shared Lines you'd like to appear on the phones. Create one for the Mailbox too (if desired). When you assign the key numbers in the Shared Line section of programming, the Shared Line Mailbox extension will be the key they press to access messages.
Within each Shared Line, assign the extensions that these lines will appear on and what buttons they will be set to. To create a new shared line, click "Add" or to modify existing shared lines, click "Modify". Select the users for these Shared Lines to appear.

Next, select the buttons where each shared line will appear and whether the call will ring on those phones. "Immediate Call" means the light flashes and the phone rings immediately. "No Incoming" means the phone will light up but will not ring. The ring options highlighted below also allow for the delayed ring, if you want to have the calls ring at some phones immediately and then add in other stations with up to a 30-second delay. Be sure to save all changes.

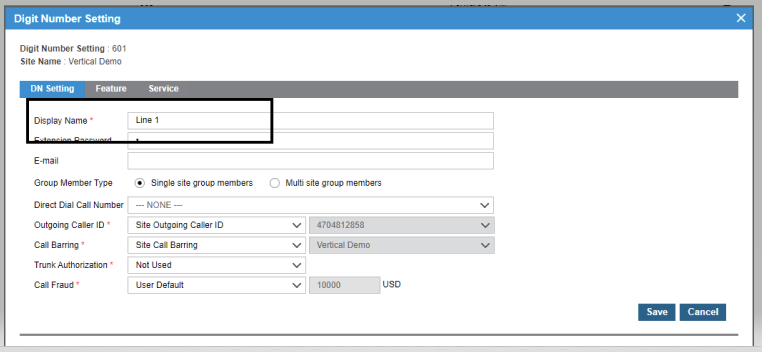
To set the Shared Line Display name, click on the gear icon (as indicated below) for the Shared Line you wish to modify. The default Display Name will be the number of the Shared Line (601, etc).

Change the "Display Name" field to your desired name, such as "Line 1".
To create a hunt group for the shared lines, in the "Preset Call Forward" tab for the first Shared Line (601), set the " No Answer Destination" to VM and "Busy Destination" to the next shared line. The last shared line forwards all to the mailbox. In this example, 601 forwards to 603 on busy and no answer to 201, which is the mailbox in this instance.
- Go to User → User Feature Config
- Key in the Shared Line number, hit enter
- In this example 601 forwards to 602 when busy and to 603 (mailbox) when not answered
- Shared Line 602 would forward to 603 on busy and no answer

Lastly, a few things for the Shared Line Mailbox extension. Make sure you turn on the USE option for "Forward to VM" as shown below.

To assign voice mail to the last Shared Line Call Manager → Shared Line → click on the VM Shared line
Click on "Feature", scroll down for Additional Feature, click on the "+".

Click the "Voice Mail" box, click "Add".

Make sure to set "Voice Mail" to "Use", set a password if you want to retrieve messages via a phone, and select "Attach Voice File" if you are e-mailing voice mails to an e-mail address.

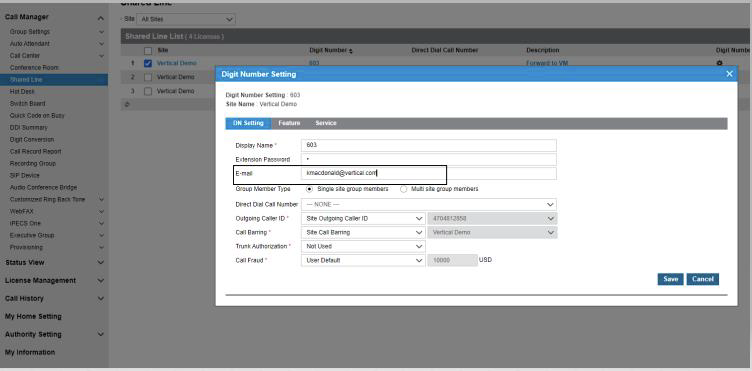
For the Shared Line Voicemail extension, click on the gear icon to set up VM to e-mail, if desired.

Enter the e-mail address for voice mail messages to be sent to. Click "Save".